The Hive Guide: Gunman Base, Training and Weapon Setup
What is inside the Hive?
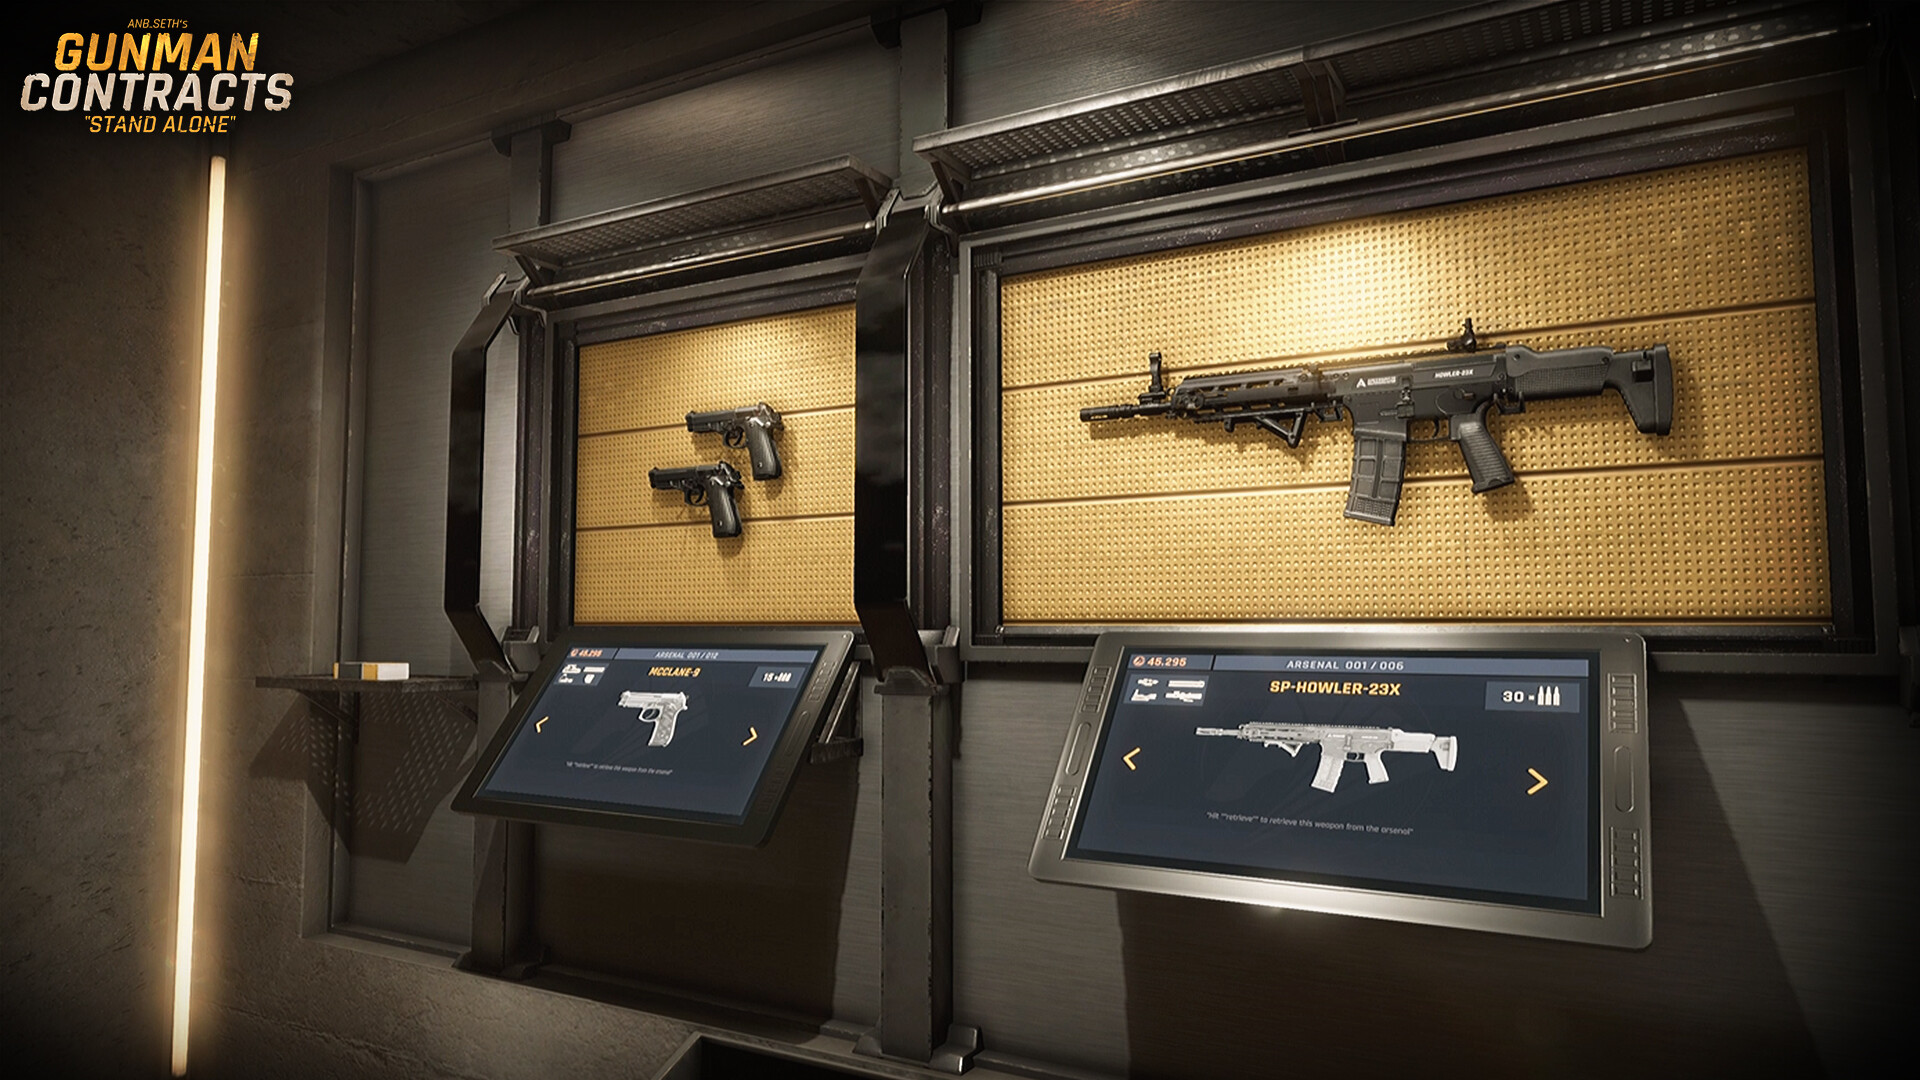
The Hive is the Gunman’s home base and your safest place to separate a control problem from a weapon problem. The launch description confirms these stations:
| Station | Confirmed purpose | Use it when |
|---|---|---|
| Gun wall | Store and unlock weapons | You want to review the current arsenal or select a new unlock |
| Gun bench | Apply skins and modify gun sounds | You are personalizing a weapon after its handling is already understood |
| Classic gun range | Controlled shooting | You need a clean weapon comparison without mission pressure |
| Pop-up target practice | Accuracy and target acquisition | You want to diagnose slow or inconsistent first shots |
| Speed-shooting course | Timed target sequence | You are testing transitions, route flow and a leaderboard warm-up |
| Holographic combat area | Combat practice | You need movement and pressure without committing to a contract |
The base is not just a menu with scenery. Used correctly, it becomes the place where you answer one question at a time before a story or challenge run.
The five-minute pre-contract routine
Use this before every serious run:
- Fire a short static group to confirm that sensitivity and sight alignment still feel right.
- Reload once while keeping attention on the target area.
- Transition between three targets without chasing speed.
- Run one pressure drill in the holographic area or speed course.
- Confirm the exact weapon and attachment setup you intend to take.
If the warm-up goes badly, fix the problem in the Hive instead of turning the next contract into a settings test.
Diagnose misses instead of firing more rounds
Use the station that matches the failure:
| What keeps going wrong? | Best station | What to change first |
|---|---|---|
| The first shot starts off target | Classic range | Sight alignment or sensitivity |
| You lose the second target | Pop-up targets | Transition speed and stopping control |
| Reloading breaks the run | Classic range, then holographic area | Reload sequence and safe timing |
| You freeze after one miss | Holographic combat area | Recovery routine and movement |
| A route feels slow despite good aim | Speed course | Movement path and target order |
Change only one variable. If you change weapon, sensitivity and attachment together, a better score teaches you nothing.
How to compare two weapons fairly
Pick one repeatable drill and run each weapon three times. Keep the same input mode and target pattern. Record:
- How quickly the first accurate shot lands.
- Whether follow-up shots remain predictable.
- How disruptive the reload feels.
- Whether the weapon blocks important visual information.
- How easily you recover after a missed shot.
The official material confirms 18 weapons and per-weapon attachments, but not final stats or unlock prices. A short controlled test is more useful than an unsupported tier list. Use the full worksheet in the weapons and attachments guide.
A VR-specific Hive check
Before entering a contract in VR:
- Make sure the standing or seated setup lets you reach required interaction points comfortably.
- Test two-handed aiming without bumping the headset, desk or room boundary.
- Practice looking away from the weapon during a reload so awareness survives under pressure.
- Check that turning and crouching are comfortable enough for a full run, not just a 30-second range test.
The store page confirms OpenXR standing/sitting support. Exact holster positions, handedness options and comfort settings must be read from the released menu rather than copied from the Half-Life: Alyx mod.
A non-VR and Steam Deck check
For mouse/keyboard or controller:
- Track a moving or appearing target smoothly before increasing sensitivity.
- Confirm that interact, reload and weapon-switch inputs are reachable without breaking movement.
- On Steam Deck, choose a readable, stable setup before judging precision. A small screen can make a visually busy sight harder to use even when the weapon is strong.
- Keep comparisons inside the non-VR leaderboard pool.
The VR vs non-VR guide helps if you are still deciding where to begin.
Use the speed course as a benchmark
The speed-shooting course is most useful when you keep a small personal log. Record the input mode, weapon, attachment change and result. After several runs, improve only one part:
- Route order if movement is inefficient.
- Sight picture if the first shot is slow.
- Trigger pacing if follow-ups are inaccurate.
- Reload timing if the run repeatedly stalls at the same point.
A personal best without notes can be luck. A small improvement you can reproduce is a real baseline for challenge mode.
When to leave the Hive
Training becomes unproductive when you repeat the same easy drill without a goal. Leave for a contract or challenge when you can:
- Hit the first target without repeated corrections.
- Reload without losing your planned direction.
- Recover from one miss without restarting the drill.
- Explain what your attachment is improving.
Move to Takedown for a controlled combat test, Last Stand for endurance, or a story contract for objectives and route learning.
What still needs live-build confirmation
Final unlock costs, progression order, station reward tables, target layouts, score formulas and complete customization options are not all listed yet. Check the in-game stations after launch because these details can change with patches.